
 Growing up, I remember those days when I'd walk through the door after school and there would be an overwelmingly wonderful aroma of my mom's baking. My mom is an excellent baker. She bakes French bread all the time and her chocolate chip cookies are the best in the world. My sisters and I all inherited this love of baking, I think, from her.
I love to make any type of bread from breadsticks to rolls to loafs of bread, etc. The problem is, with me being the baker now, the smell isn't the same as when I used to walk in the door from school. I actually have asked my husband before what it smelled like when he walked in the door after work! Or I go outside for a second just so I can open the door and have the smell hit me when I re-enter the house! ......Okay, I never said I was normal. Throwing it out there now.....I am a little wierd. Don't judge me.
When I go to a restaurant, I go for the carbohydrates. I can't help it. I love ALL of Olive Garden's food but I really go there just to stuff myself with there breadsticks! If I'm at a potluck and their is homemade rolls and desserts left when I go back for seconds......I'm probably gonna grab the roll over the dessert. Rolls ARE dessert for me!
So here is a back up premise. I already told you my mom is a wonderful baker. You would think I would have taken advantage of that and had her teach me when I lived at home right? No, I didn't. So for the first couple years of Scott and I's marriage, I practiced and practiced and practiced. Most the times I was successful, sometimes I had failures. I tried so many different roll recipes out there. So my goal today is give you pointers for all of you who would like to learn like I did. Hopefully I'll save you from learning the hard way on a few of these things. Now I don't claim to be perfect. I'm still learning. However, my family and my friends all know my love of making bread items (particularly rolls) and I've gotten lots of compliments so hopefully I know at least a little bit of the advice I'm trying to give out today.
I'm sure all of you have seen and pinned the Texas Roadhouse Rolls recipe that is everywhere on Pinterest. I chose this particular roll recipe for my demonstration today because it is easy and very forgiving. I have several roll recipes I make but I tend to lean towards this one most often because it's easy and you don't have to roll up the dough into crescent shapes or balls or anything else fancy so it saves you time. I think it is a good recipe to begin with and also good for a mom who wants to make rolls but doesn't have a lot of time to spare. Plus they are DELISH!!!
With that being said......let's get STARTED!!!!
My husband's parents gave a BOSH to Scott and I for our wedding. I couldn't have asked for a better gift!!! I LOVE my BOSH and I use it all the time. A Kitchen Knead would also work wonderful. I suggest that if you are taking this seriously and would like to bake breads, cookies, etc. often....that you either buy a BOSH or a Kitchen Knead. They save you sooooo much time.

Your first step is to measure out a half cup of warm water. Now, some recipes are going to give you a temperature that your water should be. To me, that's ridiculous! I am not going to get out a thermometer and wait while it reads the temperature! So here is a good rule of thumb. If it's too hot for your fingers, it's too hot for the yeast! Yeast will die in too hot of water....it won't rise. On the flipside, if the water is only luke warm or cold, the yeast isn't going to rise very well. So maybe a good determination is that if you would bathe your baby in it, it's the right temperature. Too cold and your baby is gonna cry, too hot and your baby is gonna cry (Can you tell I'm a momma?!) So shoot for the middle. Once you've got your 1/2 cup warm water, pour it into your mixer.

Get out your yeast. I use Saf-instant yeast. It is my favorite!!! I don't like bags so when I buy a new bag I pour it into a ziplock container, tape the bag title on the front, and put it in my fridge (once yeast has been opened it MUST be stored in a cool dry place such as your fridge.)
Take 4 teaspoons of instant yeast and sprinkle it all over on top of the warm water. Also, recipes often tell you to add a little sugar to the yeast becaue it helps in the process of yeast rising. So in this recipe, add a teaspoon of sugar and sprinkle that over the water as well.

At this point, I usually turn my mixer on for like 5 seconds, just to give it a quick whip. Now some recipes will tell you to "let the yeast rise" which usually means to give it about 5 minutes.

The picture above is what it looks like after you give it the five second whip and the picture below is what it looks like five minutes later after the yeast has had a chance to "rise."

While yeast is rising, take 2 cups of milk and microwave it for about two minutes till it's scalded. Over, the yeast, pour 1/2 cup sugar, about 4 cups of flour, and than the milk (make sure the milk has cooled a little before you pour it in.).

Turn your mixer on and let it mix for a minute or two till it looks smooth.

Let stand until light and foamy. Now not all recipes are gonna have you do this but this one does. Clear out your dishwasher while you wait:) When you come back, it should look like the picture below, it's risen a little and it's smooth and looks light and foamy.

Funny Break! I had put the egg carton on the countertop and when I wasn't looking my three year old daughter got an egg out, got down from the barstool and went to my baby in her bouncer and I look over as she is rubbing this egg all over Lexi's face as she's saying, "Feel how cold Lexi, feel how cold!" I had to snap a few pictures and laugh. I mean honestly, what even made her think to do that?!!!

Okay, sorry, back to the rolls! After the dough is light and foamy, add 3 Tbsp. of melted butter (that is slightly cooled) and 2 eggs and 2 teaspoons salt.
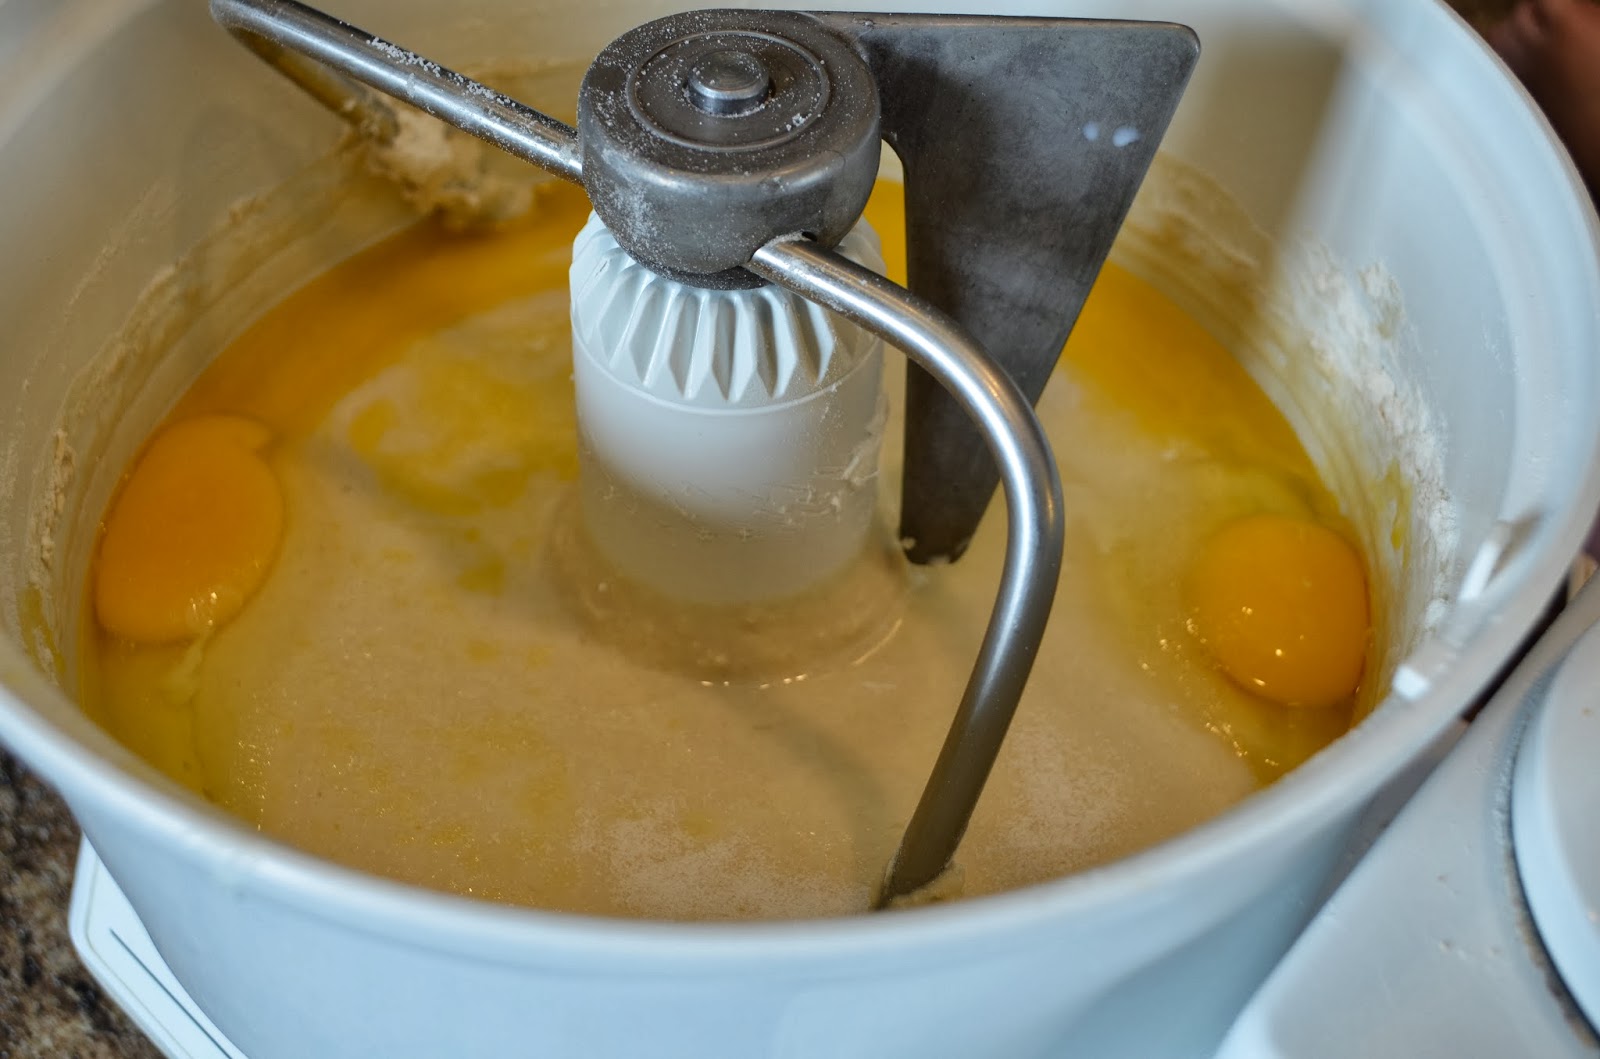
Mix. It should look like this......

Than add about three cups flour. And mix.

Now, here's another tip. Different roll recipes will say different things but I would say usually they say to add flour till it's a "soft dough". So what does that mean? Well, please look at the picture below. I took a pinch of dough between my fingers and than pulled my fingers apart. The dough stuck to both sides and was very sticky. Unless a recipe tells you the dough will be sticky, you probably don't want to leave it this way. So add a little dough at a time till it's not so sticky. Sometimes I have to try it a couple of times.

I tried it again and still too sticky. Better add some more flour.

When you add flour, don't do too much at a time. I maybe do about a 1/4 cup at a time.

Okay, this is what I consider a soft dough. When I pick up a piece of dough and pinch it between my fingers, a little bit of dough might linger but not much. I can also put that ball of dough back in the mixer just fine. The pictures above where it was really sticky.....I couldn't put it back in the mixer because it wouldn't leave my fingers! I hope this all makes sense what I'm trying to say! On the other hand, you also don't want to put so much flour in that it's a hard ball. The dough shouldn't be really sticky, but it should have elasticity. If a dough has too much flour, it's in a tough ball that doesn't want to be pulled very easily.
Also, another way to tell if the dough is ready is if it's cleaned the sides of your mixer. Sticky dough is gonna leave dough sticking to the sides but as you add a little more flour at a time it should clean the sides up pretty well.

Once you feel your dough is the right consistency, turn your mixer on again and let it mix for about 4-5 minutes. The mixer is kneading for you so you don't have too! Such a time saver!

While your dough is mixing, get a large bowl and spray with PAM. It doesn't have to be Butter flavored. Whatever you have is fine.

This is what my dough looked like after mixing.

Take the dough out of your mixer and plop it down in your sprayed large bowl.
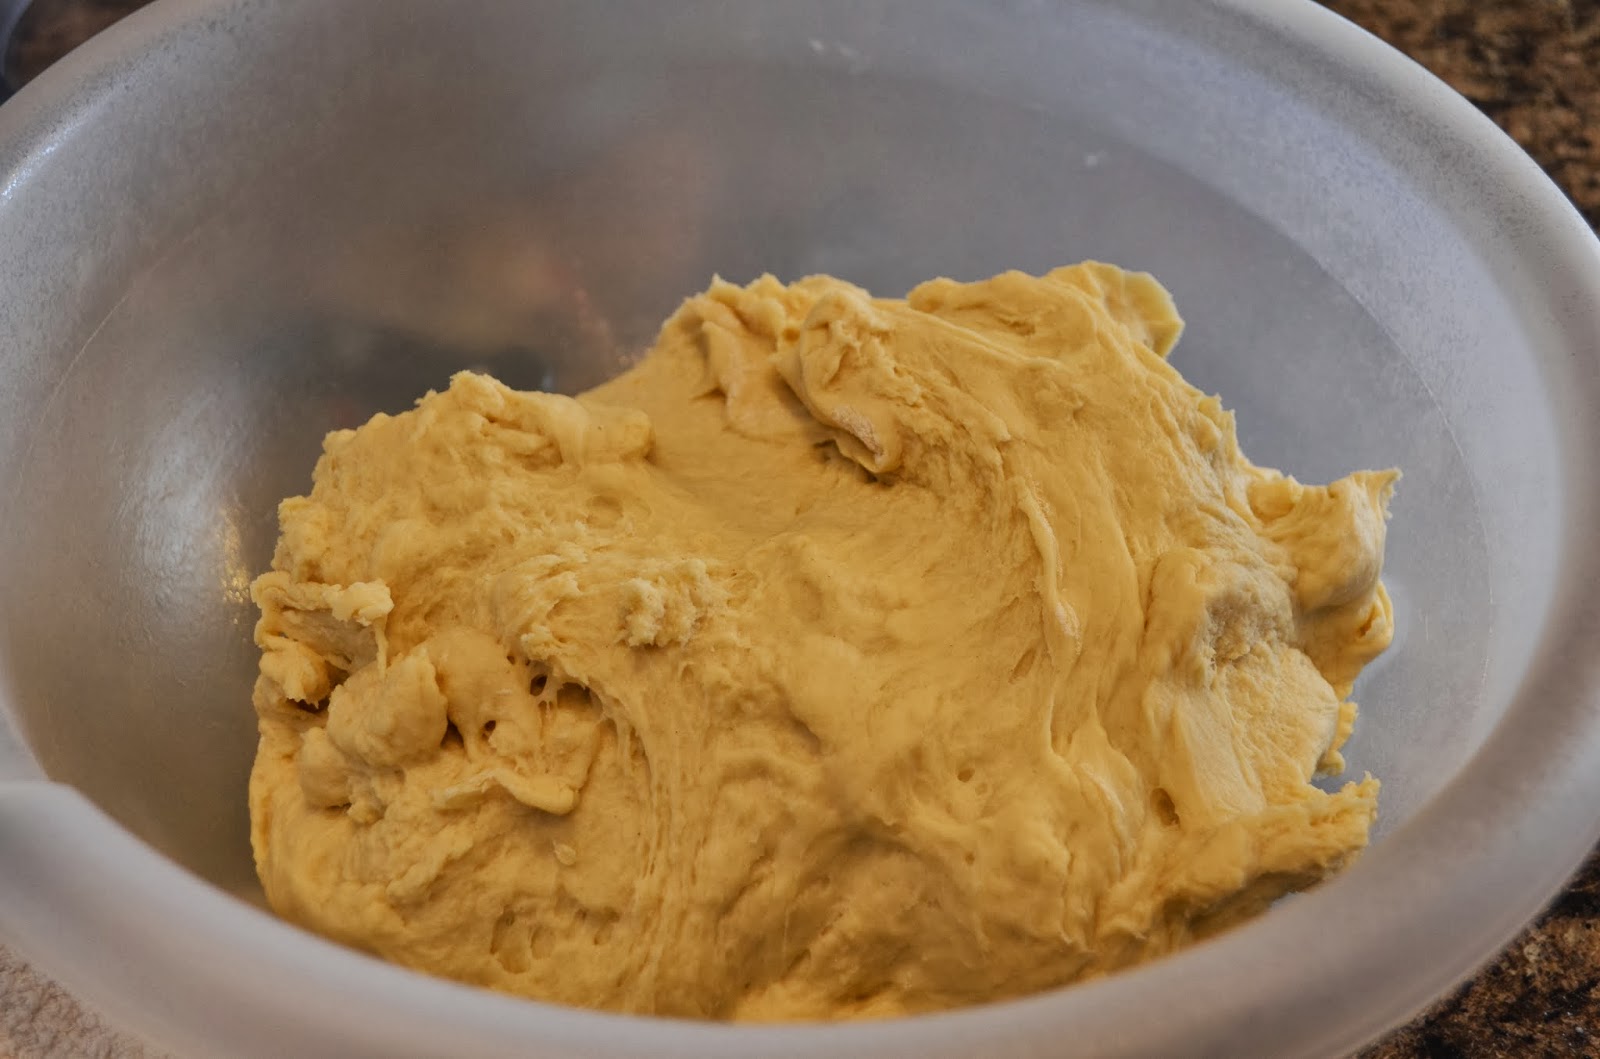
Now, grab the dough with both hands and flip it. That way both sides have PAM spray on them:) I also pat it down a little to make it a more smooth even ball.

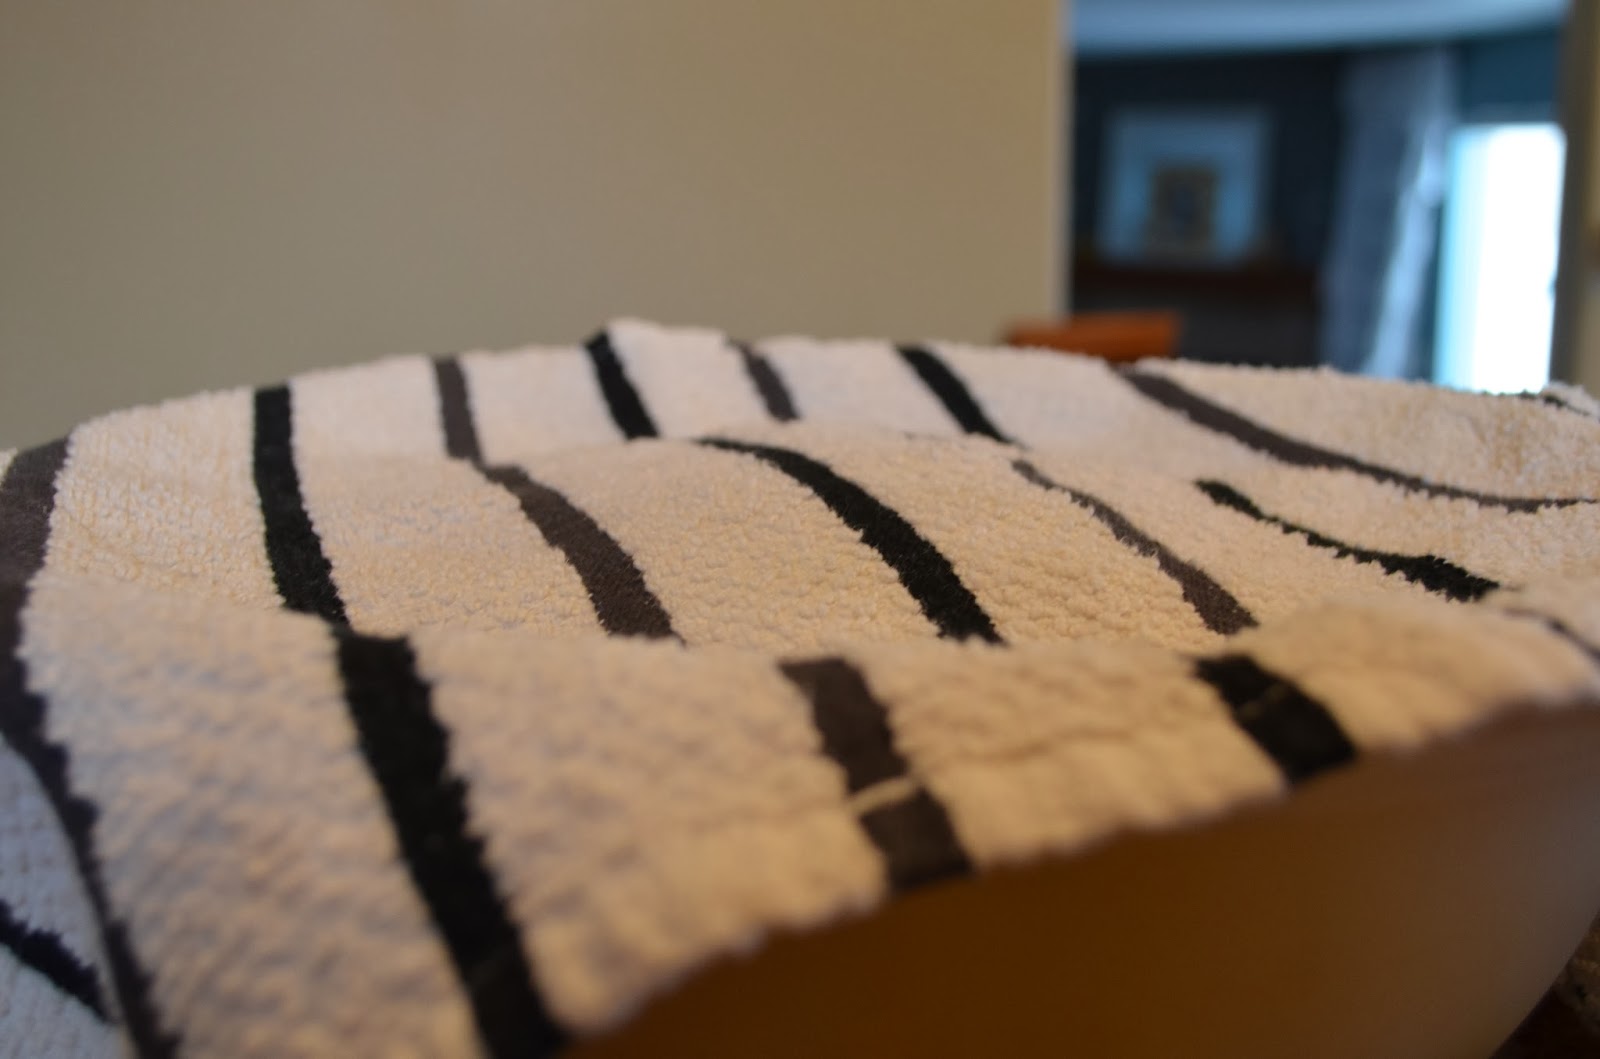
Put a clean towel over your bowl and let it rise until about double in size. At my house that's about an hour usually. If your house is really warm it might be faster. In the summer my dough raises faster but I rarely want to bake in the Summer!

This is what mine looked like after an hour. See the soft bulge in the towel where the dough has raised?
I took the towel off and here is my risen dough.

Now, take your hand, ball it into a fist and punch it! You heard me! Right in the middle!

You can do it a few times to make it more even.

Here is my station ready to go. I got it ready while the dough was rising. I have my rolling pin on the left, my pizza cutter and flour container on the right.

Gently lift your dough out with both hands and flip it so the side that was on the bottom in the bowl is now face up on your countertop.

Sprinkle some flour on it.

Roll it out to desired thinness.

Here is a picture of how big I rolled mine out to be.

Than I like to use my pizza cutter and just make a few cuts vertically (almost like breadsticks but thicker).
Now, I've used my pizza cutter for years and I haven't noticed any scratches on my laminate countertops but.....use at your own risk! I don't want anyone trying to blame me if it does on theres! so use a cutting board underneath or whatever you like just to be safe.

Than make cuts every so often horizontally.

Now, like I said before, the nice thing about these rolls is that their is no fancy roll-ups. You just slice. They don't have to be perfect squares either! AND....I have tried cutting these bigger and I've tried smaller and I have discovered that it doesn't matter! They are just as yummy either way. Just know that if you cut them smaller you will have more rolls and they will take less time to cook and if you make them larger, you won't have as many and they take longer to bake. I opt for the middle personally:)

If the corners were majorly triangular than I cut them off. Here are my scraps. No worries! My son will eat them. Why he likes raw dough I have no clue but he does!!!

Take two cookie sheets and spray them with PAM.

Place your rolls on the greased baking sheets. Look at these beauties!

Notice that my rolls aren't all perfectly square? I told you it'll be fine! Don't let the perfectionist in you come out. You'll just waste dough and time. Really it's fine.

See? Here they are again not perfectly shaped. Doesn't matter!

Cover with clean towels and let rise till doubled (once again about an hour).

Bake in a 350 degree oven for about 10-15 (depending on your size of rolls) till they are lightly browned.

Now, as your are enjoying their amazing aroma, take your pastry brush and brush melted butter all over the tops of the rolls. Sometimes I go over a second time too!

And there you have it!!! You did it!!!!

Look at all that buttery goodness:)

You should be so proud of yourself! I hope that helped you. If you have any tips you'd like to share please make sure to comment! And if you are interested in more bread tutorials, possibly even a video tutorial, please let me know by commenting below! Thanks!!!

Texas Roadhouse Rolls
4 tsp. yeast
1/2 cup warm water
2 cups milk (scalded than cooled a little)
3 Tbsp. melted butter, slightly cooled
1/2 cup sugar
Approx. 7-8 cups flour
2 eggs
2 tsp. salt
Dissolve yeast in warm water with a teaspoon of sugar. Add sugar, milk and about 4 cups flour. Beat thoroughly. Let stand until light and foamy. Add melted butter, eggs and salt. Mix well. Add about three cups more flour and mix until smooth. And more flour if needed till it's a soft dough. Let dough knead in mixer for 4-5 minutes. Meanwhile, grease a large bowl. After mixing, place dough in greased bowl and than flip dough so all is greased. Cover and let raise till double (about 1 hour).
After dough is risen, take dough out of bowl and gently place on floured countertop. Sprinkle flour on top of dough and roll out to desired thickness. Use pizza cutter and cut into squares. Place on greased cookie sheets. Cover and rise till doubled (about 1 hour).
Bake in a 350 degree oven for about 10-15 minutes or until lighly browned. Remove from oven and immediately baste with melted butter. Enjoy!!!


.jpg&container=blogger&gadget=a&rewriteMime=image%2F*)

.jpg)


.jpg)

.jpg)


