Wednesday, March 26, 2014

Linen Closet Makeover


 I finally got it done!!! This has been in the making for awhile. It's such a breath of fresh air to finally have it done! And now, when my husband wants to know where something is in the closet, he shouldn't have to ask me because everything is labeled and easy to find! And their isn't an avalanche when you open the door. My goodness, I'm almost embarrased to post the Before picture. It's pretty bad isn't it? However, I know that everyone likes a good before and after picture so I made one just for you! Hope you enjoy the journey with me from start to finish! And hopefully just hopefully, I've inspired you a little:)

Okay, here is what I started out with........


 Here is the top half. Bad. Very bad.....

Here it is now. Good! Very good:)


Old bottom half.......


New bottom half.


 Here is what I did from start to finish. First I cleared everything out. I always tell my husband that when organizing, it has to get worse (sometimes a lot worse) before it gets better.


 I'm a sucker for white closets so I painted it white.


 Here is an upclose of the top shelf. Light Bulbs on the left, Misc. & batteries in the middle and Skincare items on the right.


Second shelf down. Adult medicine on the left. Kid/baby medicine in the middle. Epsom Salt and Bandaid's on the right.


Third Shelf down. Duster in the Left corner, Cleaning supplies on the left and in the middle. On the right is containers for rags and sponges.


 Fourth shelf down. Flat sheets are in the container on the left, Pillowcases in the middle and Fitted sheets on the right.


 Fifth shelf down which holds the towels. I roll my towels now. Looks so much cleaner and neat! Also, no avalanche when pulling out a specific towel.


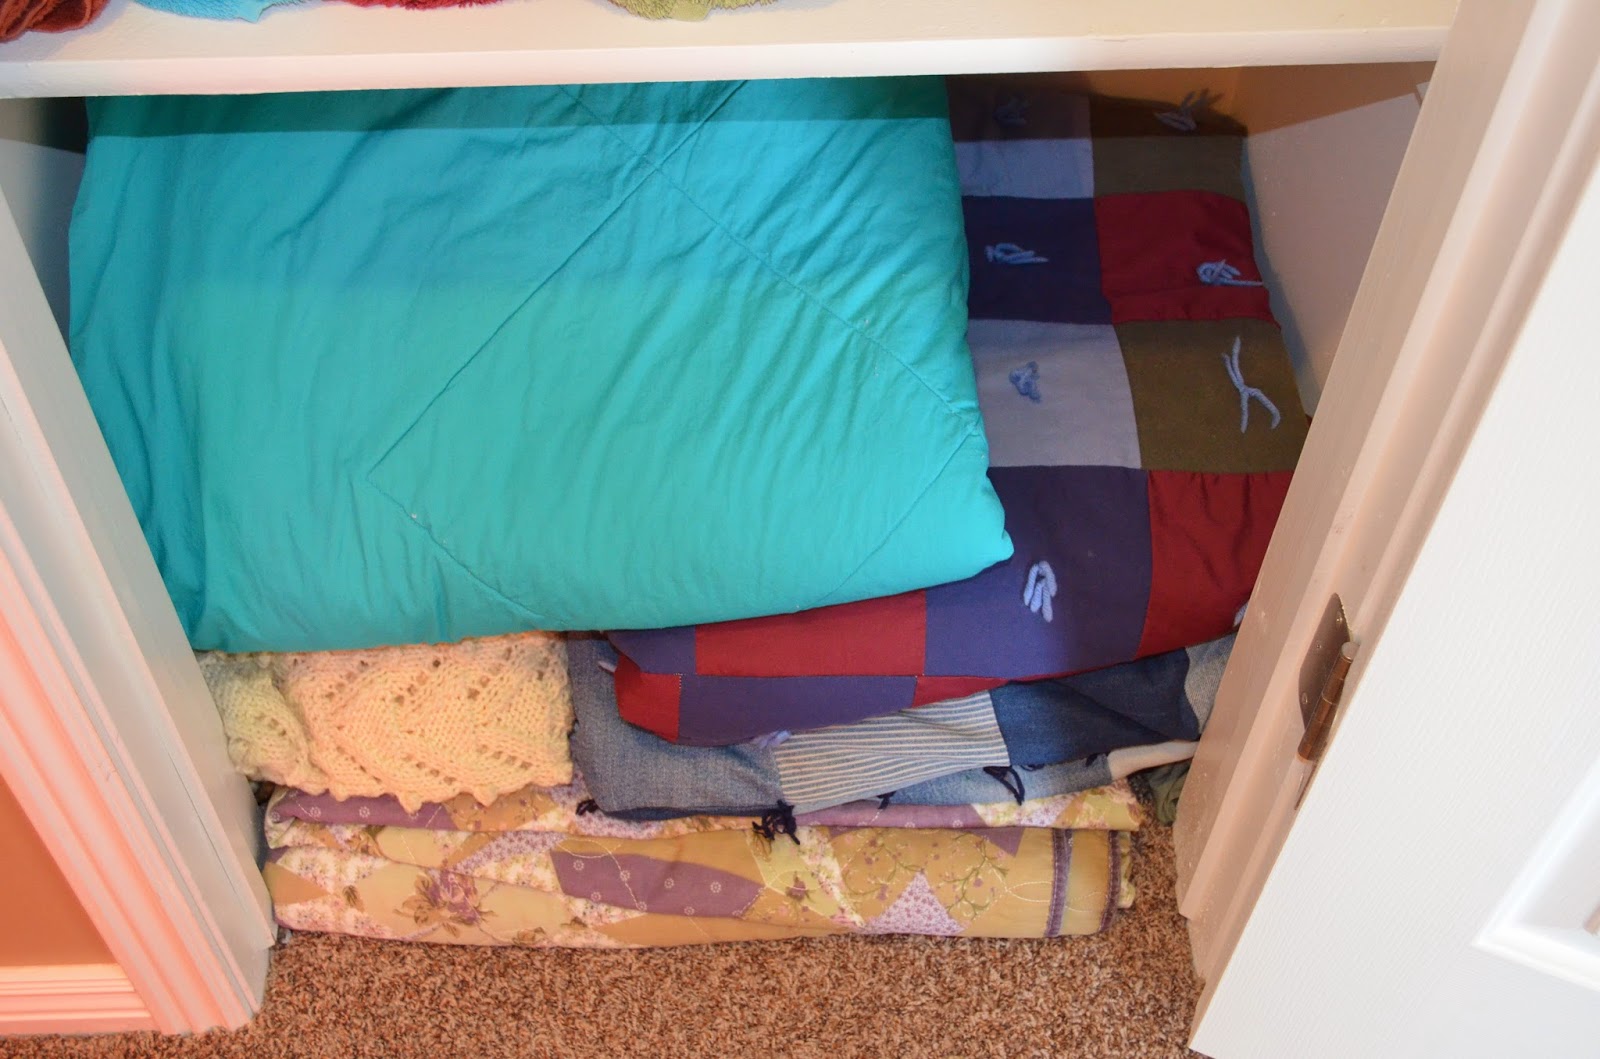
And bottom of closet which houses the blankets. 

 Here is an up close picture of each container now and what it holds. 

 The top container holds extra night lights, and rice pads, etc. The bottom container holds batteries.


This basket houses all the skincare items such as Adult sunblock, baby/children sunblock, Mosquito spray and Aloe Vera. 


This container holds all the adult medicine. Now let me clarify, I store our vitamins and some Tylenol and any current presciptions in the kitchen but all the other stuff that we don't use every day/frequently goes in this basket in the closet. 


This holds all the kid's medicine. Tylenol, Thermometer, Diaper rash cream, etc. 


This jar holds Epsom Salt. 


This kit is our Oopsey Daisy kit! It holds our bandaids and neosporin and such. 


I got this idea at a craft fair. They had a boy version and a girl version.They were decorated all cute, had themed bandaids (superheroes, etc. for boys and barbies, etc. for girl's). They also had candy so the hurt child could choose one and other such fun stuff. Adorable. However, I was not going to make getting hurt desirable for my kids. My kids would start finding "owies" all over the place! They would have bandaids all over their bodies and we would burn through the candy quickly. So although it was cute, I made mine bland....on purpose. No candy. No fun bandaids (not to mention that plain bandaids are waaaaay cheaper) and it's simply decorated.  And honestly, I love it that a kiss from me makes most of their owies disappear:) I didn't want to be replaced by candy and cool bandaids. However, I liked the organized aspect of it so I bought a container and it holds our bandaids, our neosporin, liquid stitch, itch cream, etc.  


On the left is my duster. In the basket we have cleaning supplies. Now, let me explain that the cleaning solutions we use all the time are in our bathroom cabinets and under the kitchen sink. This basket holds stuff we don't use every day but we want on hand. For example, Goo Gone and carpet cleaner and magic erasers, and spider spray, etc. 


Here is some more. Lime away, Disinfectant sprays, etc. 


The top container holds special rags and sponges. The bottom container holds old grubby rags.


This container holds all extra Flat Sheets.


This container holds all pillowcases not in use.


This container holds all fitted sheets. 


All Flat sheets are tagged by size. 


All fitted sheets are also tagged by size. I roll all the sheets. 


Here is Tanner's chore chart on the inside of the door. 


Here is Marissa's chore chart on the inside of the door. 


This jar holds the quarters for me to pay them with at the end of the week when they've done all their chores. 


If they didn't do all their chores than they won't get paid the full amount which means they might get dimes or nickles instead.


The picture below shows the whole chore chart system on the inside of the door. If you would like to see my DIY tutorial on how to make these chore chart magnet boards click here. If you would like to learn more about what chores we expect our kids to do and our paying system go here. 


And that's it! So here is your reminder of what it previously looked like....


And here is what it looks like now! 


And again, just for the heck of it:)


Let me know what you think! Would you take the "After" over the "Before" ?!!!
If you want to print off the same labels I did. They are free! Click here. They even let you type in what you want them to say before you print them off! They have other colors available as well. I typed in what categories I wanted, then printed them off, laminated them and walaaa! 

The containers I bought at the Dollar Tree for $1.00 each. 

If you want to see some awesome Closet makeovers that inspired me go here and here. 

Thanks for stopping by! Now go start orgainizing! And remember, sometimes it's gotta get worse before it gets better!:)  (I didn't show you my messy hallway where everything sat for a couple weeks waiting for me to find a few minutes here and there to gradually organize it and put it back. Phew! It's done! :)

Thursday, March 20, 2014

Creamy Mint Grasshopper Pie


 This has been a long standing recipe in our home. Green mint pies are perfect for St. Patrick's Day and Christmas! Or any time of the year! It's quick and simple and totally Delish. 

Here is what you need.................


Here is a closer look at each of them. 

8 oz. Cream cheese

1 pkg. Oreos


1 large container (16 oz.) of Cool Whip

  
One (7 oz.) container of Marshmallow Creme 
(LOVE THIS STUFF!!! If you have never bought it before you can find it right next to regular bags of marshmallows)

  
Peppermint Extract, margarine and green food coloring


Whip cream cheese in a large bowl. Add marshmallow cream and whip some more. Add extract and food coloring and whip some more. 


Gently fold in cool whip.


 Stir gently till everything is evenly mixed. 


Now for the crust. Take your package of Oreos and crush all of them in a food processor. 


Pour about a 1/4 cup of melted butter into the oreo crumbs. 

 
Stir until completely and evenly coated. 


Save out about a 1/4 cup of crumbs and spoon the rest of the crumb mixture into a pie pan (I am using my springform pan). Using your hands, press the mixture flat on the bottom and up the sides if desired. 


Spread pie mixture all over the top. 


Take the oreo crumb mixture you set aside earlier and sprinkle it over the top of the pie. 


If you like fluffy pies, put in the fridge for about an hour and than enjoy! If you like frozen pies, put it in the freezer till it's firm and than cut up and enjoy! We have eaten it both ways and have enjoyed it either way. Also, a little whip cream makes it prettier and yummier too if I might add! Hope you enjoy! 


Creamy Mint Grasshopper Pie

Crust
1 pkg. Oreos
1/4 cup butter 

Crush Oreos in a food processor. Add melted butter and mix until evenly coated. Press down in pie pan. 


Filling
1 (8 oz.) container cream cheese
1 (7 oz.) jar marshmallow cream
1/2 tsp. peppermint extract
Green food coloring (about 3 drops)
1 (16 oz.) container cool whip

Whip cream cheese. Add marshmallow cream and whip again. Add extract and food coloring and whip again. Fold in cool whip. Pour into crust. Sprinkle top with leftover crumbs. Freeze until firm or place in refrigerator for a bit. 


Wednesday, March 19, 2014

Lucky Charms "Rice Crispie Treats"


On St. Patrick's Day morning the kids and I like to have Lucky Charms and green milk for breakfast! I wanted a fun dessert for that night and all of a sudden a little light when on in my head and I thought, why not use my rice crispie recipe and substitute chocolate lucky charms in the place of the rice crispie cereal?! 

So we tried it. It was an experiment and one that was successful! I think we now have a new St. Patrick's tradition! 

Here is all you need to make this fabulous festive dish! 


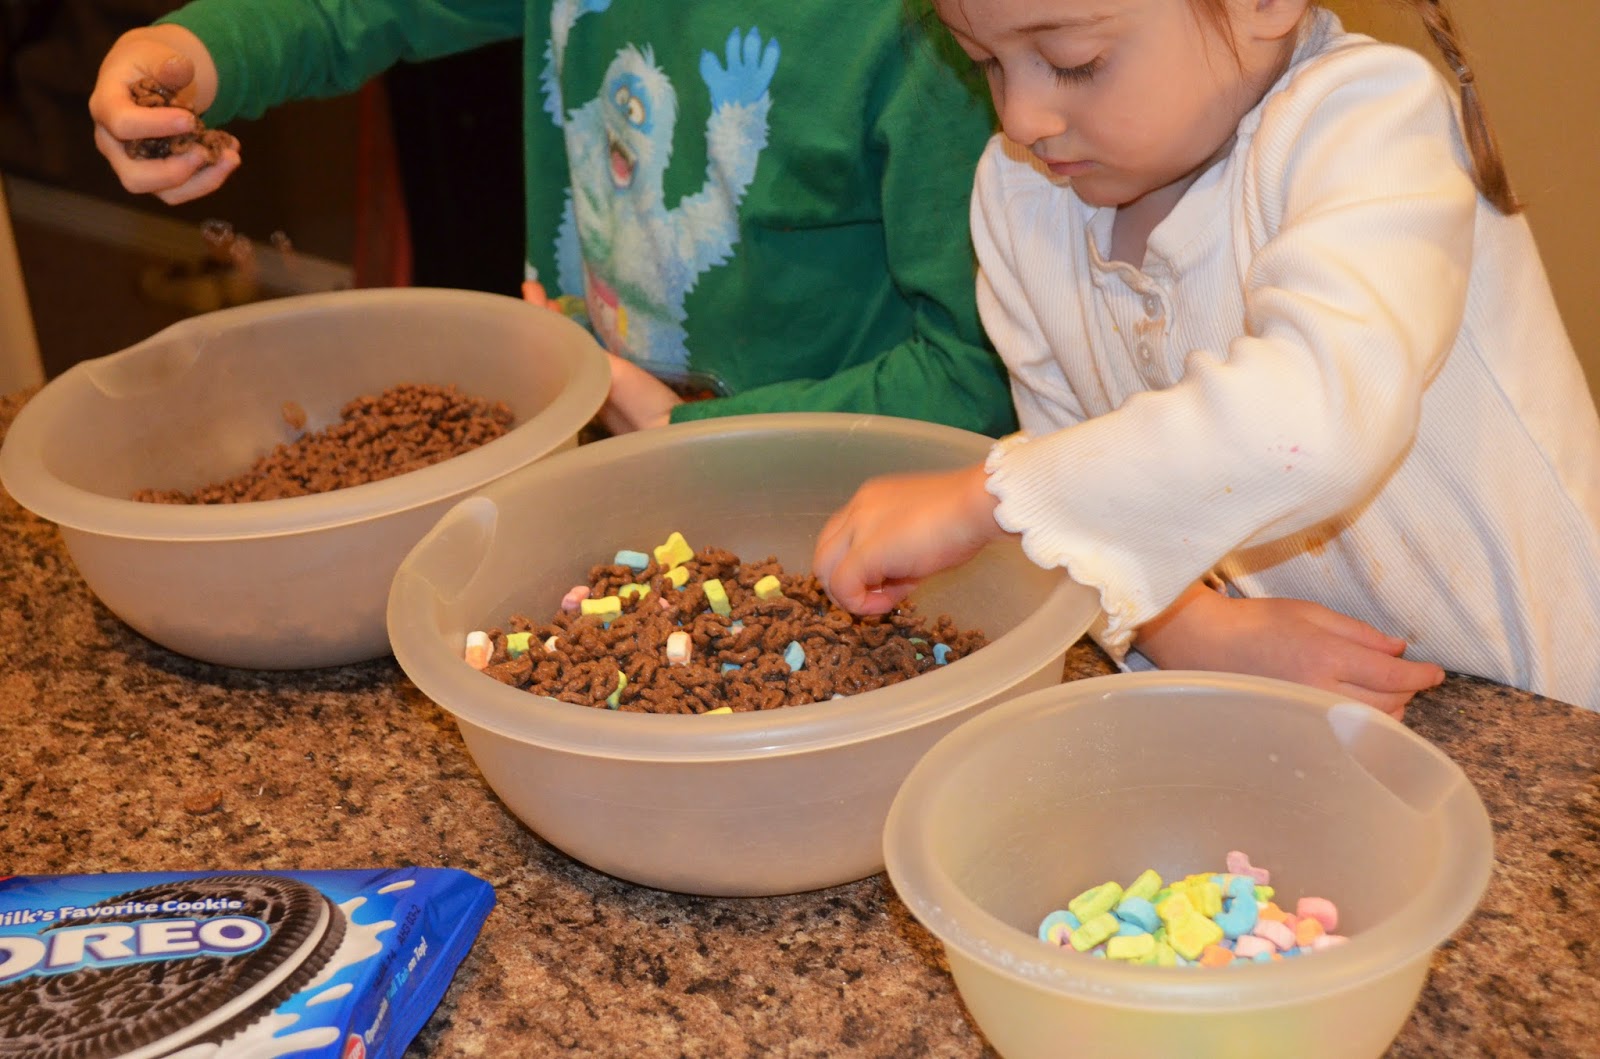
I had my kids seperate the chocolate cereal from the marshmallows. I figured the lucky charms might get too smashed and possibly melt when I stir the hot marshmallows mixture in so we seperated them. 

 It was a win win! It kept them busy for a little while, they were having fun and it was good practice for their sorting skills. We did a bowl in the middle which I dumped all the cereal in. My son had a bowl in front of him and he was in charge of getting all the chocolate cereal. My daughter had a bowl in front of her and she was in charge of getting the lucky charms.


 Look at them hard at work! My daughter gets such a serious look on her face when she's thinking hard:)


 Now take 3 Tbsp. margarine and melt it in a saucepan on the stove top. 


Take 4 heaping cups of mini marshmallows and dump them in the saucepan. Stir until completely melted. 


 Pour in 6 cups of the chocolate cereal. 


Stir until completely and evenly coated. 


Pour in the Lucky Charm marshmallows and gently stir them in. 


Scoop into a greased pan or cookie sheet. 


Look at the yummy gooeyiness! Let it sit for a few minutes and than cut into squares and enjoy! My kids both loved it. I mean.... seriously..... chocolate, butter, marshmallows and Lucky Charms......how can you go wrong with that combination? Next year I might even try dyeing the melted butter and margarine mixture green! That would make it even more St. Patrick'ish! 


Here is the recipe:

Lucky Charms "Rice Crispie Treats"

3 Tbsp. margarine
4 heaping cups of mini marshmallows
Chocolate Lucky Charms (chocolate cereal and Lucky Charms divided)

Melt the margarine in a saucepan on stovetop. Add the marshmallows and stir till melted. Pour in 6 cups of the chocolate cereal and stir till evenly coated. Pour in Lucky Charms and gently stir to mix. Spoon into a greased pan or cookie sheet. Let cool then cut into squares. 

Wednesday, March 5, 2014

St. Patrick's Pie


St. Patrick's Day is coming up! I figured it was the perfect excuse for me to whip up some green minty goodness! I found this recipe in an old issue of the Taste of Home's Simple and Delicious magazine. I knew I needed to give it a try and I'm glad I did! My whole family enjoyed it! 

Here is everything you need......


 In a bowl, whisk 1.5 cups cold milk and 1 pkg. (3.9 oz.) instant chocolate pudding mix together for two minutes. Let  stand for two minutes or until soft-set.


Add 3/4 cup whip topping and 3/4 cup Andes mint candies.


 Mix it all together.


Spread in a premade chocolate crust.


 In a different bowl, put in 2 cups coolwhip and a 1/4 tsp. of mint extract.


 Add a couple drops of green food coloring if desired.


Stir it all together till the food coloring is blended in and it's a beautiful light minty color.


Spread all over on top of the pudding mixture. 


 Sprinkle some Ande's mints all over the top.  Let sit in the fridge for about 4 hours or until set. Yum!


We enjoyed it soft like pudding the first night but the rest of the pie we put in the freezer and the next night my husband and I tried it that way and discovered we really liked it frozen too! So however you decide to eat it, enjoy and Happy soon to be St. Patrick's Day! 


St. Patrick's Pie

1.5 cups cold milk
1 pkg. (3.9 oz.) instand chocolate pudding mix
2 3/4 cups Cool Whip, divided
1 pkg. Ande's mint candy chips, divided
1 (9 inches) premade chocolate pie crust (or make your own!)
1/4 tsp mint extract
2 drops green food coloring, optional

In a small bowl, whisk the milk and pudding mix together for two minutes. Let stand for two minutes or until soft-set. Fold in 3/4 cup whip topping. Fold in 3/4 cup candy. Spoon into crust. 

In another bowl, combine the rest of the cool whip with the mint extract and green food coloring. Mix well and spread over pudding layer; sprinkle with remaining candy. Cover and refrigerate for four hours or until set.