

I finally got it done!!! This has been in the making for awhile. It's such a breath of fresh air to finally have it done! And now, when my husband wants to know where something is in the closet, he shouldn't have to ask me because everything is labeled and easy to find! And their isn't an avalanche when you open the door. My goodness, I'm almost embarrased to post the Before picture. It's pretty bad isn't it? However, I know that everyone likes a good before and after picture so I made one just for you! Hope you enjoy the journey with me from start to finish! And hopefully just hopefully, I've inspired you a little:)
Okay, here is what I started out with........

Here is the top half. Bad. Very bad.....

Here it is now. Good! Very good:)

Old bottom half.......

New bottom half.

Here is what I did from start to finish. First I cleared everything out. I always tell my husband that when organizing, it has to get worse (sometimes a lot worse) before it gets better.

I'm a sucker for white closets so I painted it white.

Here is an upclose of the top shelf. Light Bulbs on the left, Misc. & batteries in the middle and Skincare items on the right.

Second shelf down. Adult medicine on the left. Kid/baby medicine in the middle. Epsom Salt and Bandaid's on the right.

Third Shelf down. Duster in the Left corner, Cleaning supplies on the left and in the middle. On the right is containers for rags and sponges.

Fourth shelf down. Flat sheets are in the container on the left, Pillowcases in the middle and Fitted sheets on the right.

Fifth shelf down which holds the towels. I roll my towels now. Looks so much cleaner and neat! Also, no avalanche when pulling out a specific towel.

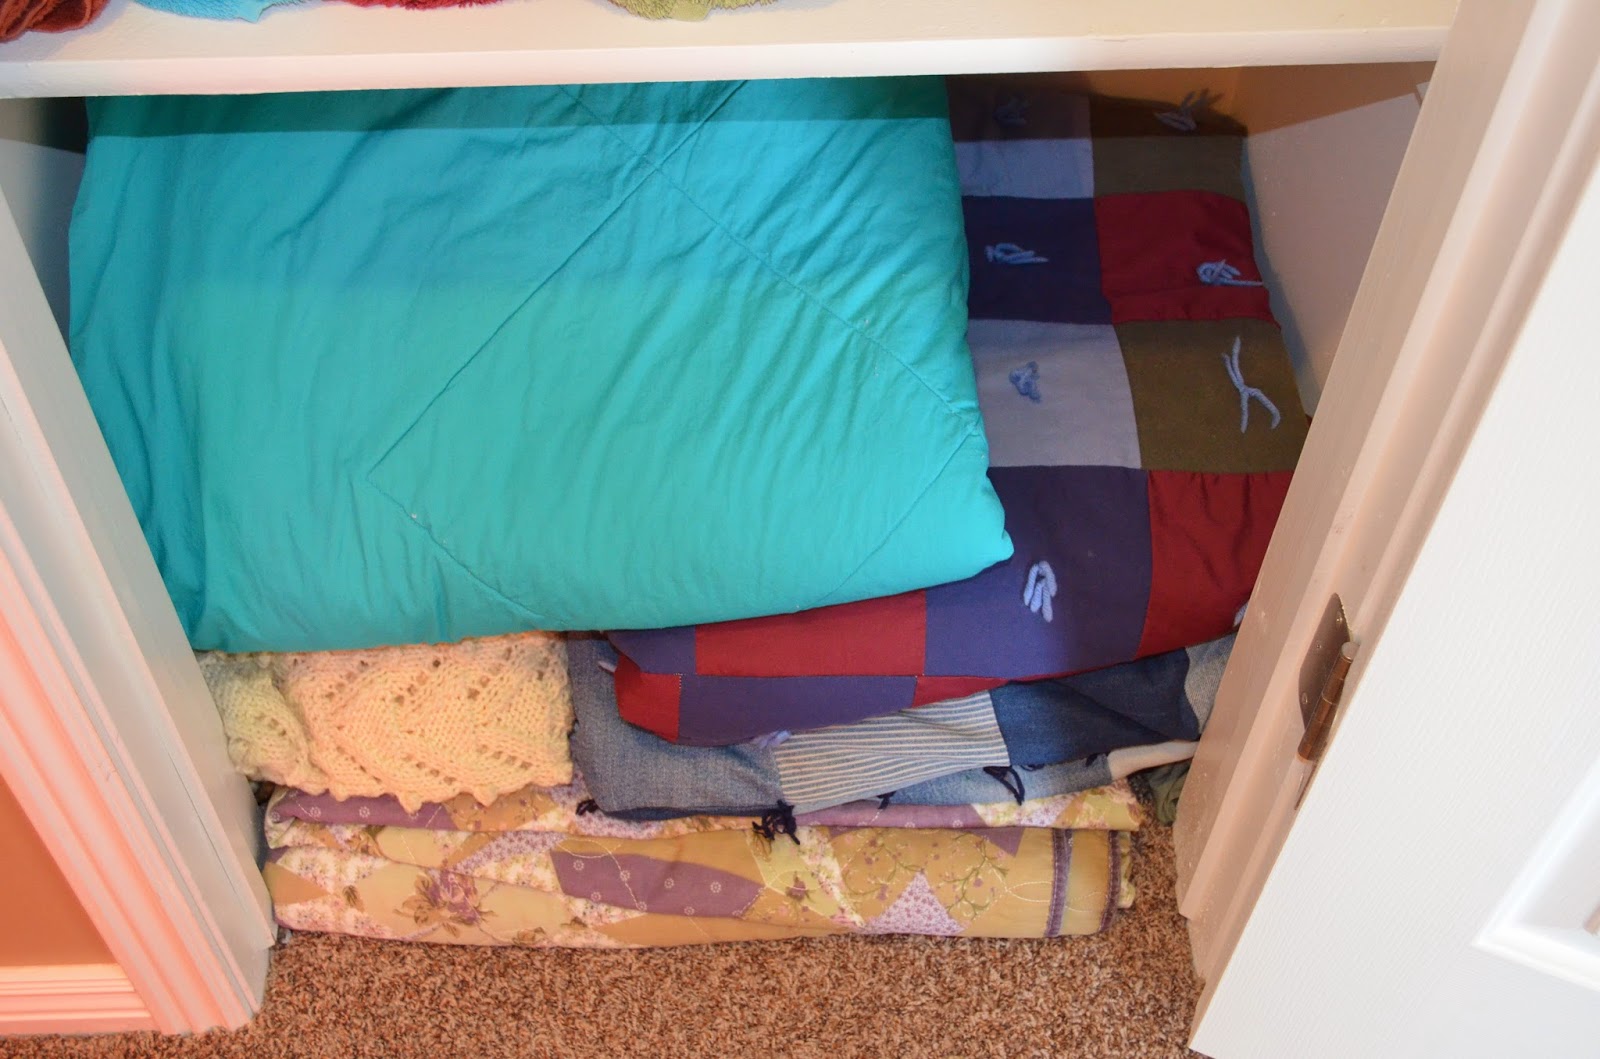
And bottom of closet which houses the blankets.
Here is an up close picture of each container now and what it holds.
The top container holds extra night lights, and rice pads, etc. The bottom container holds batteries.

This basket houses all the skincare items such as Adult sunblock, baby/children sunblock, Mosquito spray and Aloe Vera.

This container holds all the adult medicine. Now let me clarify, I store our vitamins and some Tylenol and any current presciptions in the kitchen but all the other stuff that we don't use every day/frequently goes in this basket in the closet.

This holds all the kid's medicine. Tylenol, Thermometer, Diaper rash cream, etc.

This jar holds Epsom Salt.

This kit is our Oopsey Daisy kit! It holds our bandaids and neosporin and such.

I got this idea at a craft fair. They had a boy version and a girl version.They were decorated all cute, had themed bandaids (superheroes, etc. for boys and barbies, etc. for girl's). They also had candy so the hurt child could choose one and other such fun stuff. Adorable. However, I was not going to make getting hurt desirable for my kids. My kids would start finding "owies" all over the place! They would have bandaids all over their bodies and we would burn through the candy quickly. So although it was cute, I made mine bland....on purpose. No candy. No fun bandaids (not to mention that plain bandaids are waaaaay cheaper) and it's simply decorated. And honestly, I love it that a kiss from me makes most of their owies disappear:) I didn't want to be replaced by candy and cool bandaids. However, I liked the organized aspect of it so I bought a container and it holds our bandaids, our neosporin, liquid stitch, itch cream, etc.

On the left is my duster. In the basket we have cleaning supplies. Now, let me explain that the cleaning solutions we use all the time are in our bathroom cabinets and under the kitchen sink. This basket holds stuff we don't use every day but we want on hand. For example, Goo Gone and carpet cleaner and magic erasers, and spider spray, etc.

Here is some more. Lime away, Disinfectant sprays, etc.

The top container holds special rags and sponges. The bottom container holds old grubby rags.

This container holds all extra Flat Sheets.

This container holds all pillowcases not in use.

This container holds all fitted sheets.

All Flat sheets are tagged by size.

All fitted sheets are also tagged by size. I roll all the sheets.

Here is Tanner's chore chart on the inside of the door.

Here is Marissa's chore chart on the inside of the door.

This jar holds the quarters for me to pay them with at the end of the week when they've done all their chores.

If they didn't do all their chores than they won't get paid the full amount which means they might get dimes or nickles instead.

The picture below shows the whole chore chart system on the inside of the door. If you would like to see my DIY tutorial on how to make these chore chart magnet boards click here. If you would like to learn more about what chores we expect our kids to do and our paying system go here.

And that's it! So here is your reminder of what it previously looked like....
And here is what it looks like now!

And again, just for the heck of it:)
Let me know what you think! Would you take the "After" over the "Before" ?!!!
If you want to print off the same labels I did. They are free! Click here. They even let you type in what you want them to say before you print them off! They have other colors available as well. I typed in what categories I wanted, then printed them off, laminated them and walaaa!
The containers I bought at the Dollar Tree for $1.00 each.
If you want to see some awesome Closet makeovers that inspired me go here and here.
Thanks for stopping by! Now go start orgainizing! And remember, sometimes it's gotta get worse before it gets better!:) (I didn't show you my messy hallway where everything sat for a couple weeks waiting for me to find a few minutes here and there to gradually organize it and put it back. Phew! It's done! :)
No comments:
Post a Comment